I've been eliminating sugar from my diet since the beginning of the year. This has been more of a challenge than I originally thought, not because I'm dying for sugar (although, there are days that are tougher than others), but because pretty much every product on the market (and I'm talking savory products) has sugar in it. Crackers? Yep. Soup? Yep. Bread? For sure. I thought I might be safe with English muffins, but, no, they all have some form of sugar in it. So, I took matters into my own hands (after watching a
Great British Baking Show where they made English muffins), and decided to whip up my own muffins sans sugar, honey or any other sweetener. Now, I will warn you now ... this is not a traditional English muffin recipe where you knead the dough, let it rise, roll it out and cut the muffins before griddling them. You can certainly find a recipe (and I probably will at some point try that version) like that. But this recipe is more of a free-form English muffin. I do use a griddle (traditional), but this recipe also requires a bake in the oven (not traditional). It's a modified version of the
New York Times recipe, and as long as you don't mind working with a wet dough and getting your hands a bit doughy, this recipe is easy, knead-free, and delicious. Just don't say you haven't been warned. Please don't despair when you have yeasty, wet dough dripping off your fingers. Wait until you taste these babies.
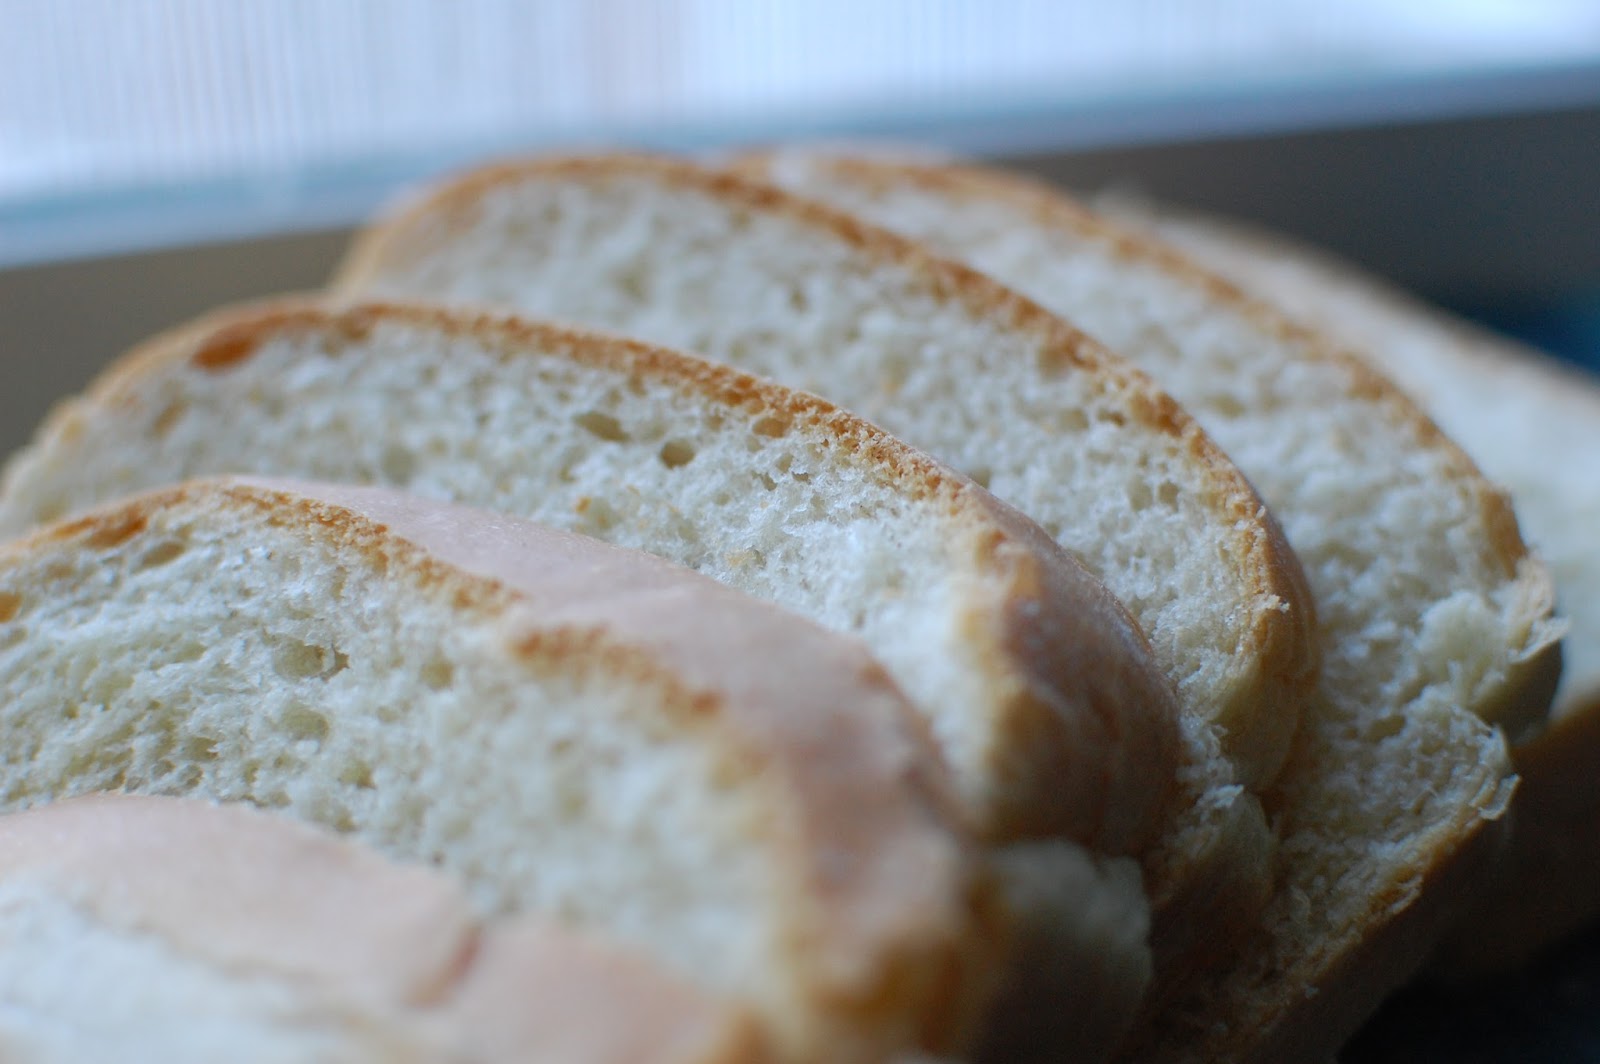
English muffins with no sugar
Ingredients:
1 packet active dry yeast
4 tablespoons unsalted butter
1/2 cup plain yogurt
1/3 cup warm water (about 110 degrees F)
1/2 cup warm whole milk
1 teaspoon fine sea salt
1 cup whole-wheat flour
1 cup all-purpose flour
1/2 teaspoon
Cornmeal, preferably coarse, as needed
1. In a small bowl combine yeast and 1/3 cup warm water and let rest until yeast has dissolved, about 5 minutes.
2. Melt 2 tablespoons butter and put it in a large bowl. Whisk in yogurt, milk, salt and the yeast mixture.
3. Add flours and baking soda to bowl and beat thoroughly with a spoon or rubber spatula until well combined. Cover bowl and let rest in a warm spot for 1 to 1 & 1/2 hours, or until dough has doubled.
4. Heat oven 350 degrees. Lightly dust a small baking sheet with cornmeal.
5. Place a large skillet over medium heat and melt 1 tablespoon butter or use an electric griddle at 350 degrees (that's what I use). Using a large ice cream scoop or 1/2 cup measuring cup, drop batter into skillet to form round muffins about 4 inches in diameter, mounding the batter in the center. (You may need to coax the dough a little with your fingers, so be careful of the hot pan, and don’t worry if they’re not perfectly circular.) If using a skillet, reduce heat to low and cook 3 to 5 minutes, until bottoms are golden brown. (Be careful not to let them burn.) If using a griddle, keep heat at 350 degrees, but watch the muffins carefully.
6. Flip muffins using a spatula. Cook 2 to 4 minutes or until the other sides are golden brown. Place muffins on prepared baking sheet. Repeat using remaining batter and another tablespoon of butter.
7. Bake muffins in oven for 10-12 minutes, or until puffed and cooked through. Split the muffins with a fork and toast before eating.